This post is also available in: Polish
Preview Microsoft Exchange 2013 you can install on a system with Windows Server 2008R2 SP1 or Windows Server 2012 as we described it here:
Microsoft Exchange 2013 Preview installation requirements
Before installing the role of Client Access Server (CAS), we must remember that the firewall on the server-u add an exception for port 139, the rules Inbound.
Installing using CMD command line:
Installation using the CMD does not differ much from the installation of Microsoft Exchange 2010.
The command line run the course with elevated privileges (Run as Administrator).
The new version no longer uses Setup.com but Setup.exe command syntax looks like this:
Setup.exe [/Mode:<setup mode>] [/IAcceptExchangeServerLicenseTerms]
[/Roles:<server roles to install>] [/InstallWindowsComponents]
[/OrganizationName:<name for the new Exchange organization>]
[/TargetDir:<target directory>] [/SourceDir:<source directory>]
[/UpdatesDir:<directory from which to install updates>]
[/DomainController:<FQDN of domain controller>]
[/AnswerFile:<filename>] [/DoNotStartTransport] [/LegacyRoutingServer]
[/EnableErrorReporting] [/NoSelfSignedCertificates]
[/AddUmLanguagePack:<UM language pack name>]
[/RemoveUmLanguagePack:<UM language pack name>] [/NewProvisionedServer:<server>]
[/RemoveProvisionedServer:<server>] [/ExternalCASServerDomain:<domain>]
[/MdbName:<mailbox database name>] [/DbFilePath:<Edb file path>]
[/LogFolderPath:<log folder path>] [/Upgrade]
If you want to install, eg: the role of the Client Access Server and automatically accept the license terms, the syntax looks like this:
Setup.exe /mode:Install /role:ClientAccess /IAcceptExchangeServerLicenseTerms
Full description of the syntax of installation using the command line can be found here:
Install Exchange 2013 in Unattended Mode
Installation using GUI:
Map ISO file or DVD with the version of Microsoft Exchange 2013 installation and run Setup.exe Preview.
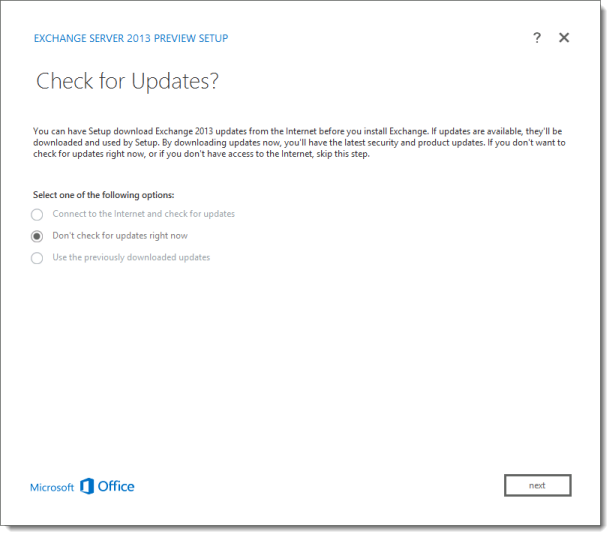
At the first window we can see if there are new updates for your system.
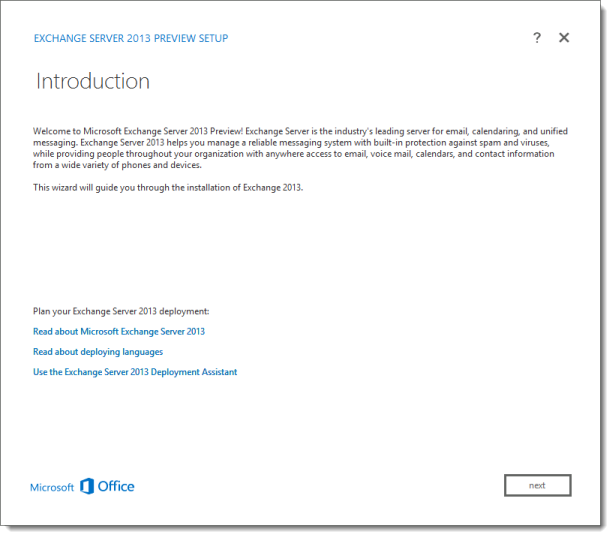
Press Next and the next window, we can read about the product Microsoft Exchange 2013 which we intend to install, of course, choose Next again.
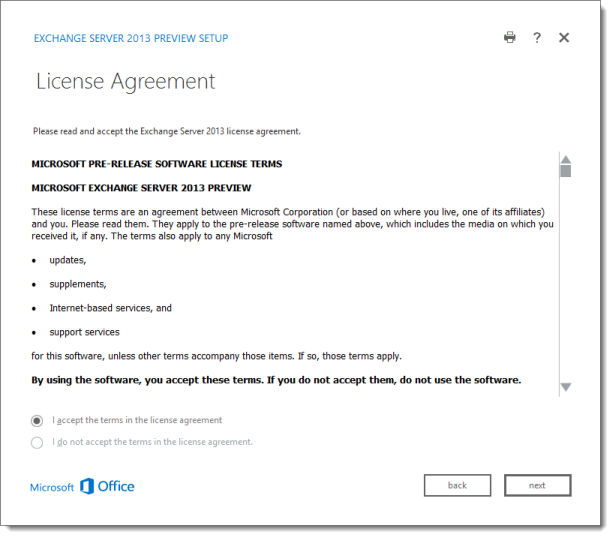
The next window requires us to accept a license
If you want to submit bug reports appear to Microsoft to “tweak” the system is installed the following window allows us to make such a choice.
In the next window will be performed to check the system on which you install the Microsoft Exchange 2013, if found to be missing a required component needed before installation, you will see this information.
After verifying the correctness of the environment on which you installed Exchange Server choose which roles to install. Additionally, to highlight the roles and functions of Windows Server required for proper operation of the server role installed Exchange have also been installed automatically.
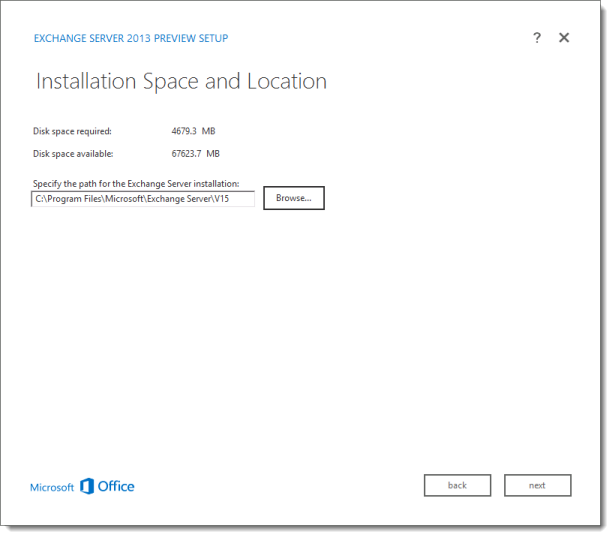
In the next window select the directory where you want to install Exchange.
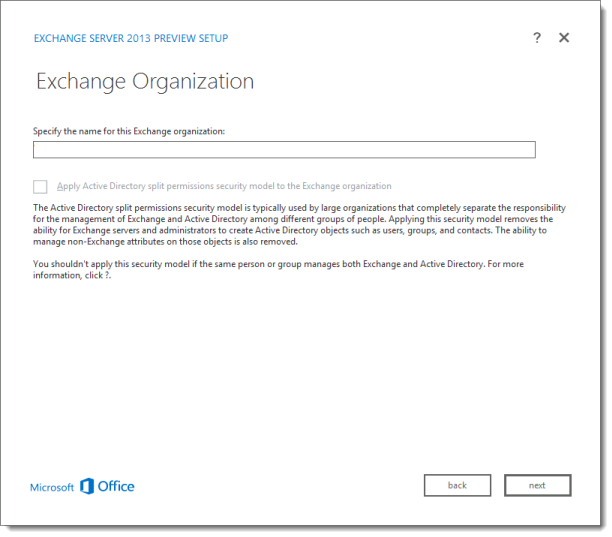
Then choose a name for the Exchange organization if the installation is done in the Forest where there is still no Exchange server, or if it is done in an existing type in its name.
Then decide if Malware scanning is disabled on this server. If you choose to scan was turned on (Yes), then we can turn it on without any problems after installing the server.
For more information on protection against Malware can be found here: Anti-Spam and Anti-Malware Protection
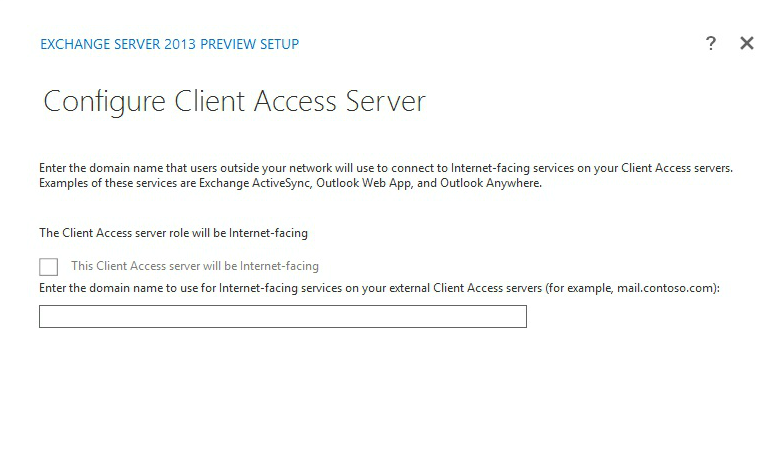
If you install the Client Access Server role (CAS) will pop-up window in which we must choose whether it is a server which provides access to email from the internet. If so, we must specify the domain name.
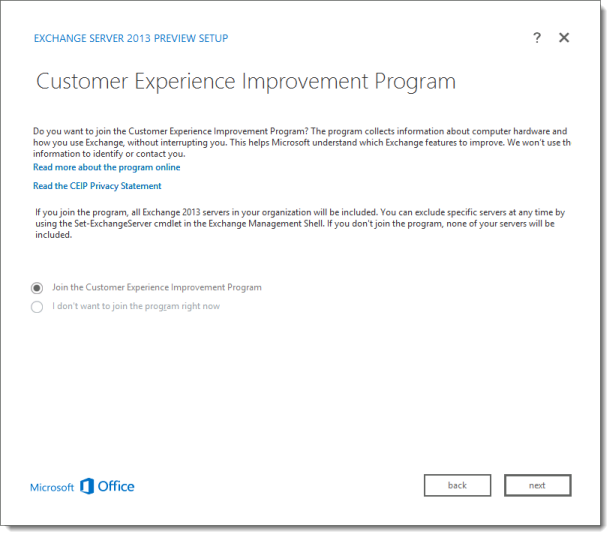
If you want to participate in the Customer Experience Improvement Program to the next window we can to join:
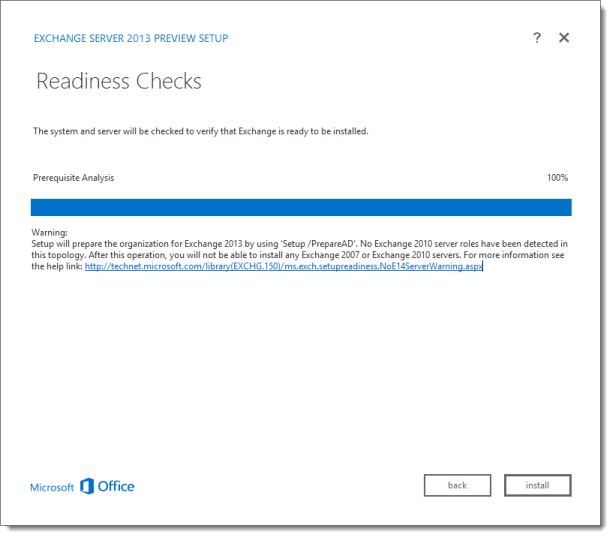
After selecting Next will be checked all the requirements for installing Exchange and we are informed that you have found other servers Exchange 2007 or 2010 and that the modification occurs during the installation of Active Directory Schema
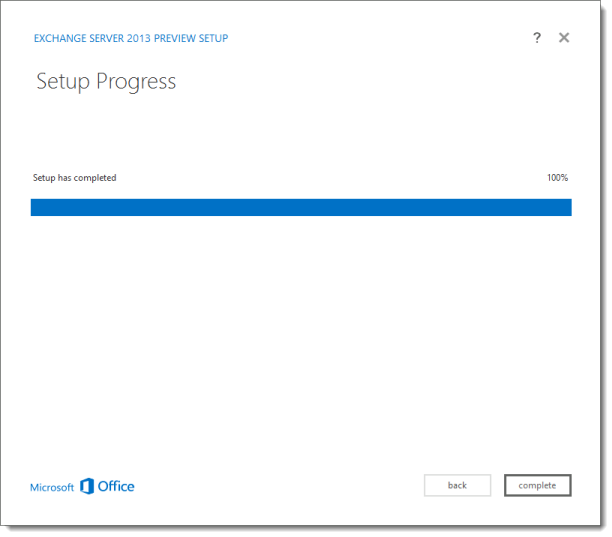
When you press Next to start installation of the server. Depending on the selected roles, server resources on which you install the Exchange 2013 installation may take a long time (about 20 minutes). Fortunately, realistic progress bar shows the progress of the installation.




 English
  polski